
Looking for a simple dessert or favor for an upcoming event? This simple DIY is going to look like you spent the extra time and even money to make this event special. The best thing is these can be personalized a million different ways. For this project, you will need to purchase an alphabet embosser. I found mine on Ebay for under $5 with shipping. However, if you opt for a different avenue, William Sonoma did offer something a little better quality.
You will need:
- cut-out sugar cookies
- alphabet embosser
- premade or homemade fondant (I used Wilton’s rolled fondant)
- cookie cutter
- rolling pin
- icing
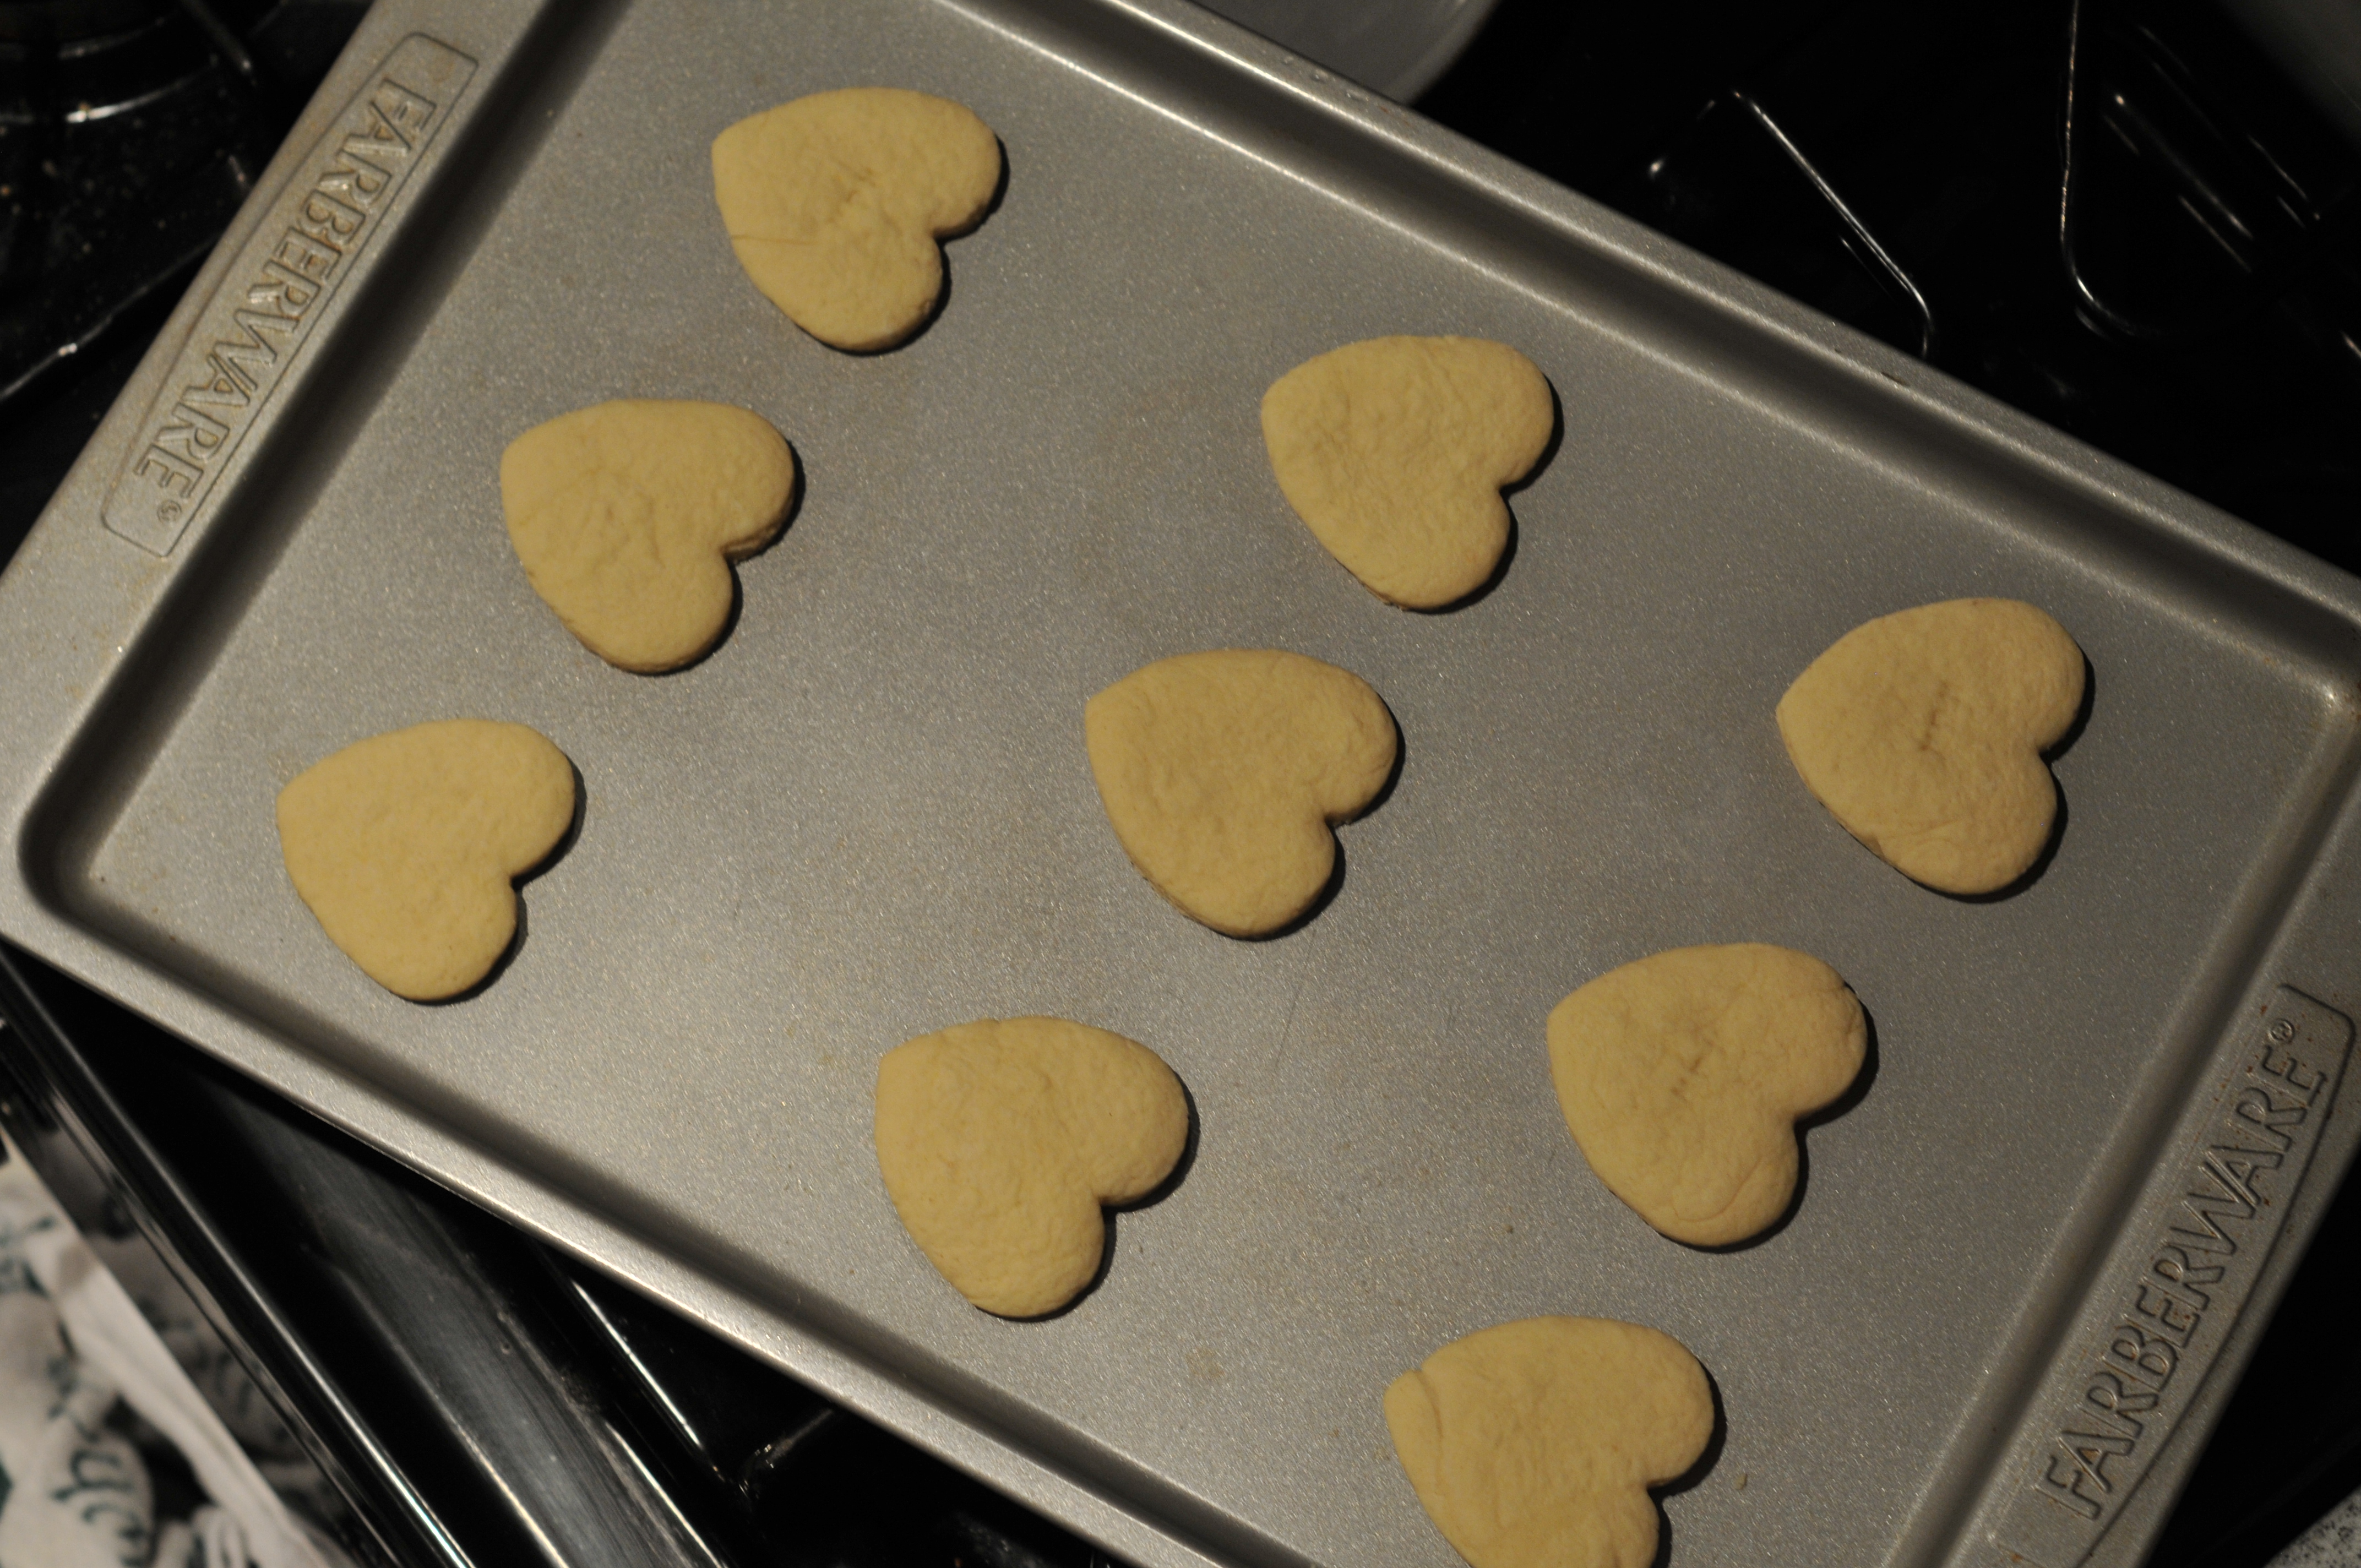
I used Betty Crocker’s recipe for Mary’s sugar cookies. These are a family staple for all major holidays.
Mary’s Sugar Cookies – Betty Crocker’s Recipe
1½ cups of sifted confectioner’s sugar 1 cup butter 1 egg 1 tsp. vanilla ½ tsp. almond flavoring 2½ cups of flour 1 tsp. baking soda 1 tsp. cream of tartar
Mix sugar and butter. Add egg and flavorings; mix thoroughly. Sift flour. Stir dry ingredients together and blend in. Refrigerate 2 to 3 hours. Heat oven to 375°. Roll out dough on surface covered lightly in flour and confectioner’s sugar and cut with cookie cutters. Bake 7 to 8 minutes or until slightly golden.

After the cookies have cooled, you simply roll out the fondant on a clean, flat, dry surface. Then use the cookie cutter to cut out pieces of fondant. You could even use the same cutter that you used for the cookies. Note: Fondant does dry out quickly. So, once is it rolled, do not let it sit too long.
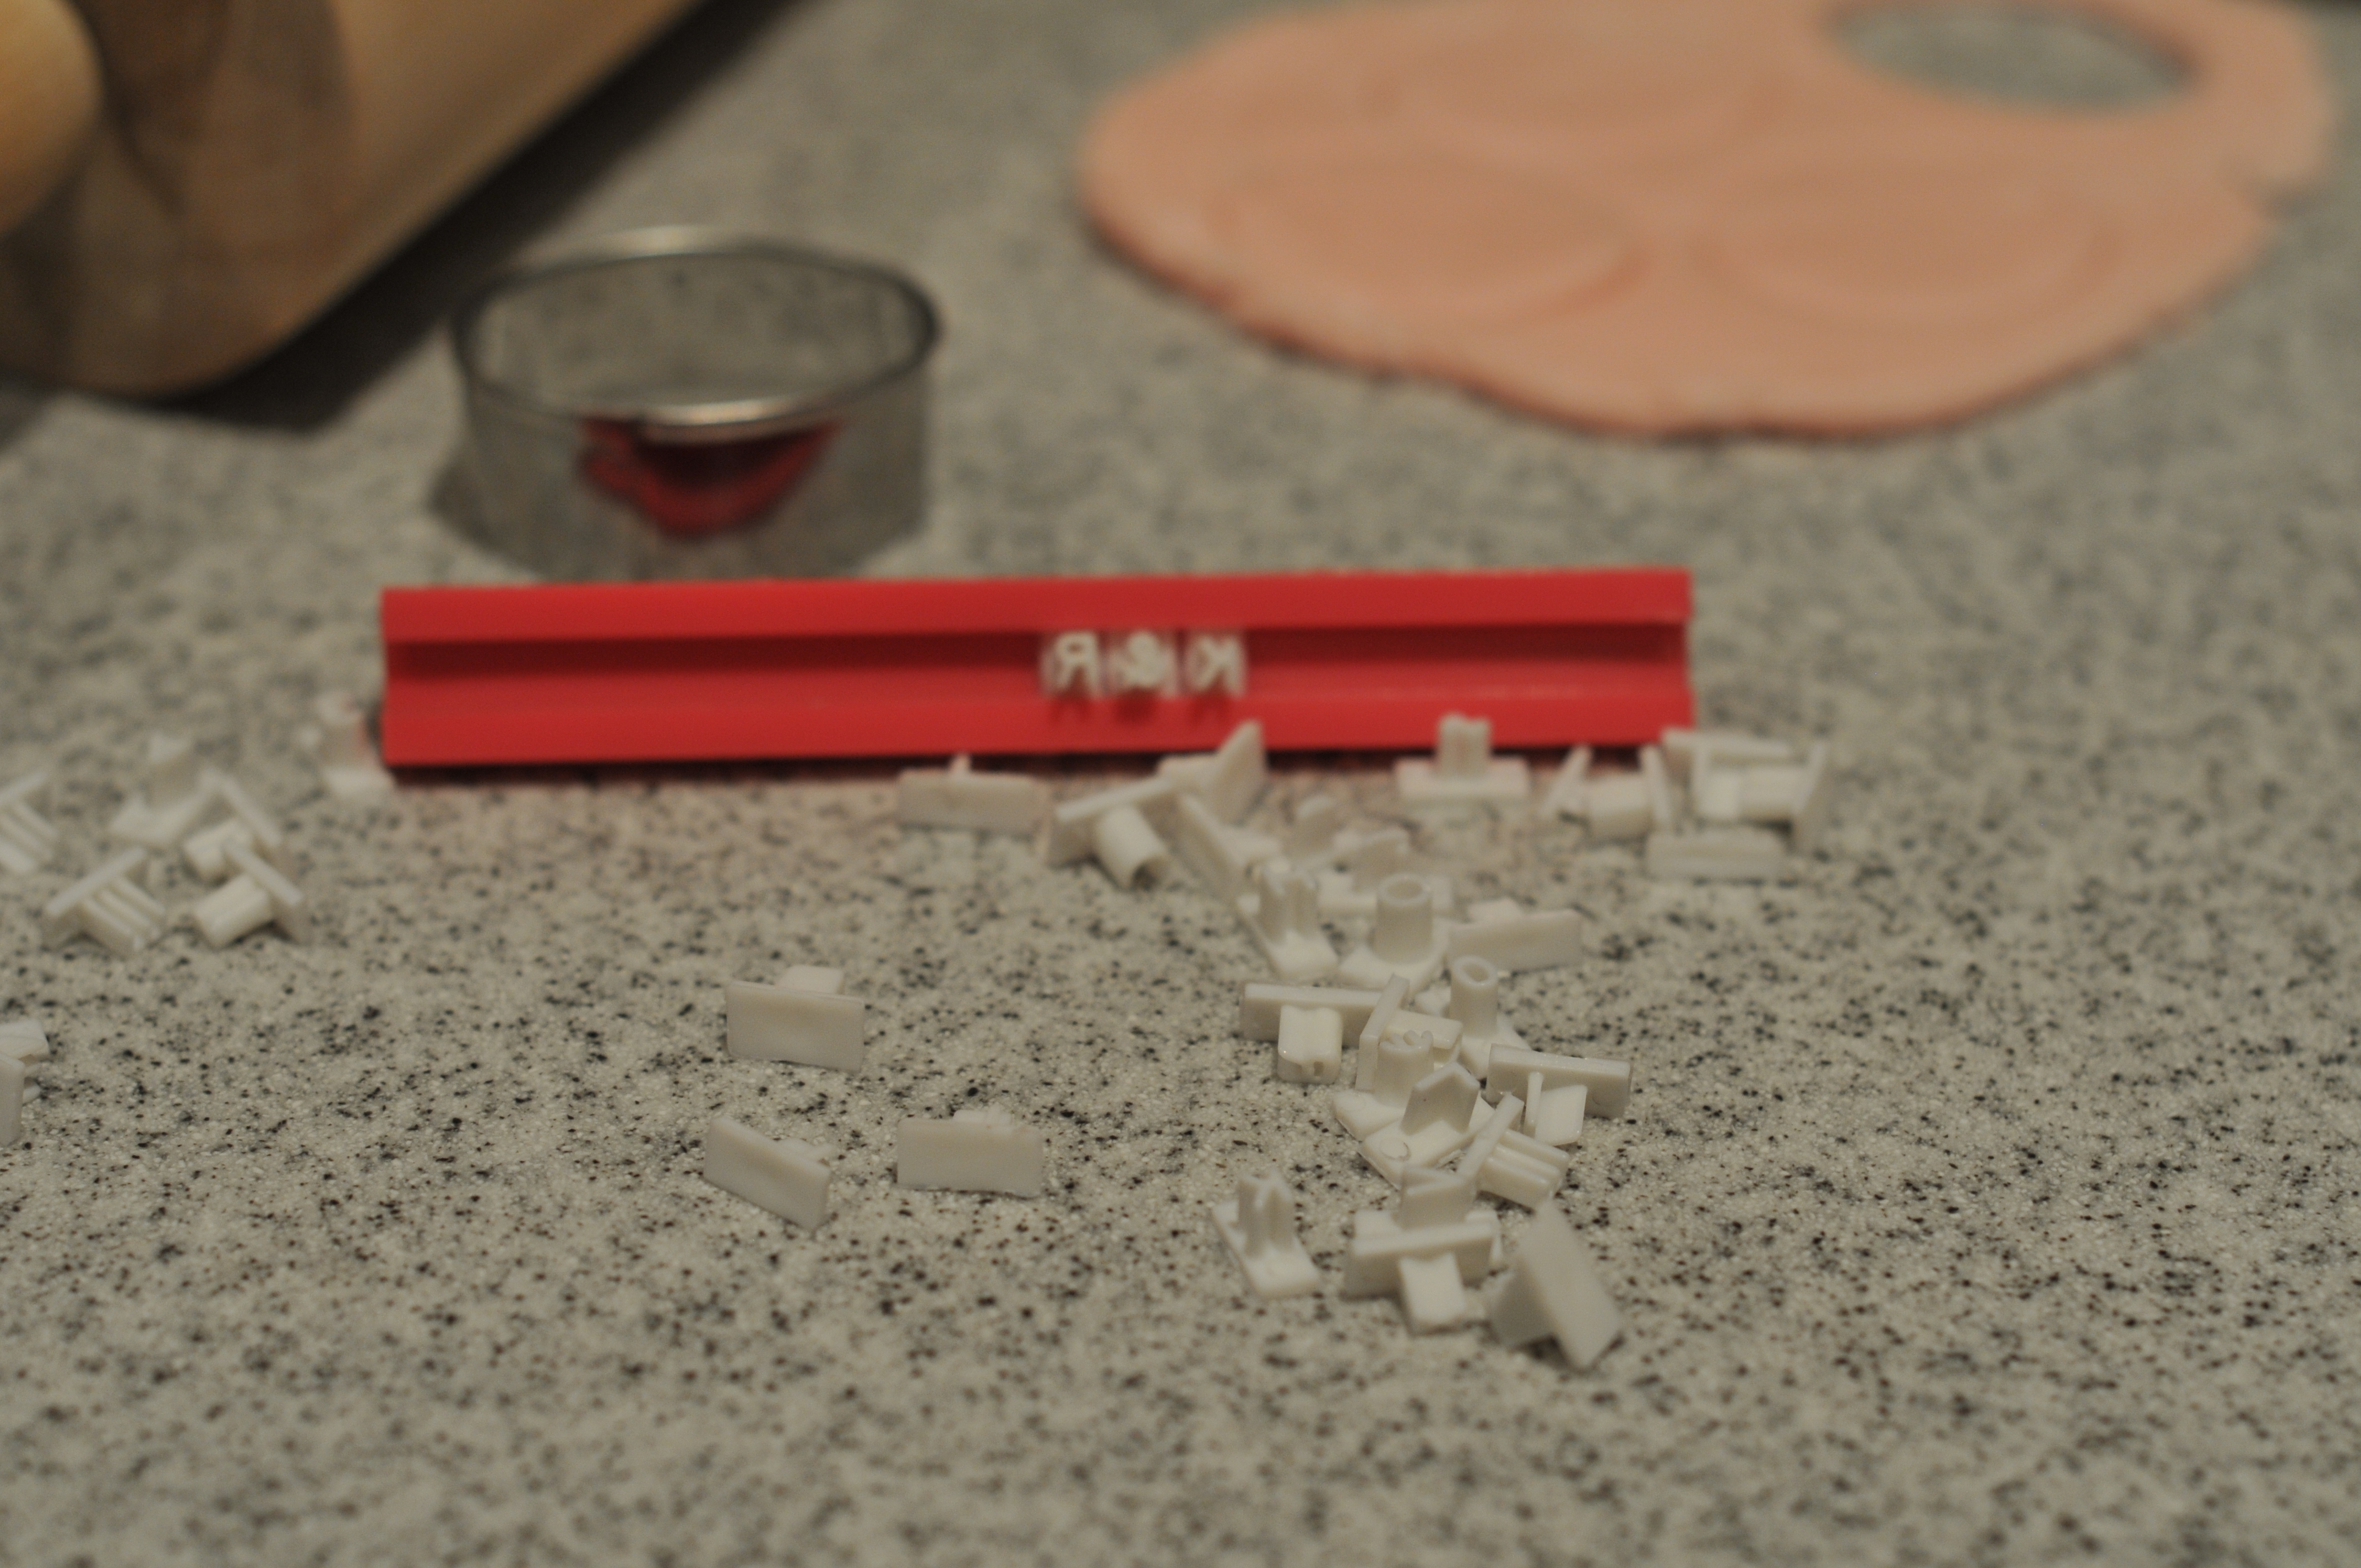
At this point, you will need to pull all the letter for embossing. The embosser I purchased has a few of each letters, numbers 0-9, and various symbols. Note: The pieces will need to go in backwards. It is best to make a test stamp to check for correctness before stamping the cutouts.
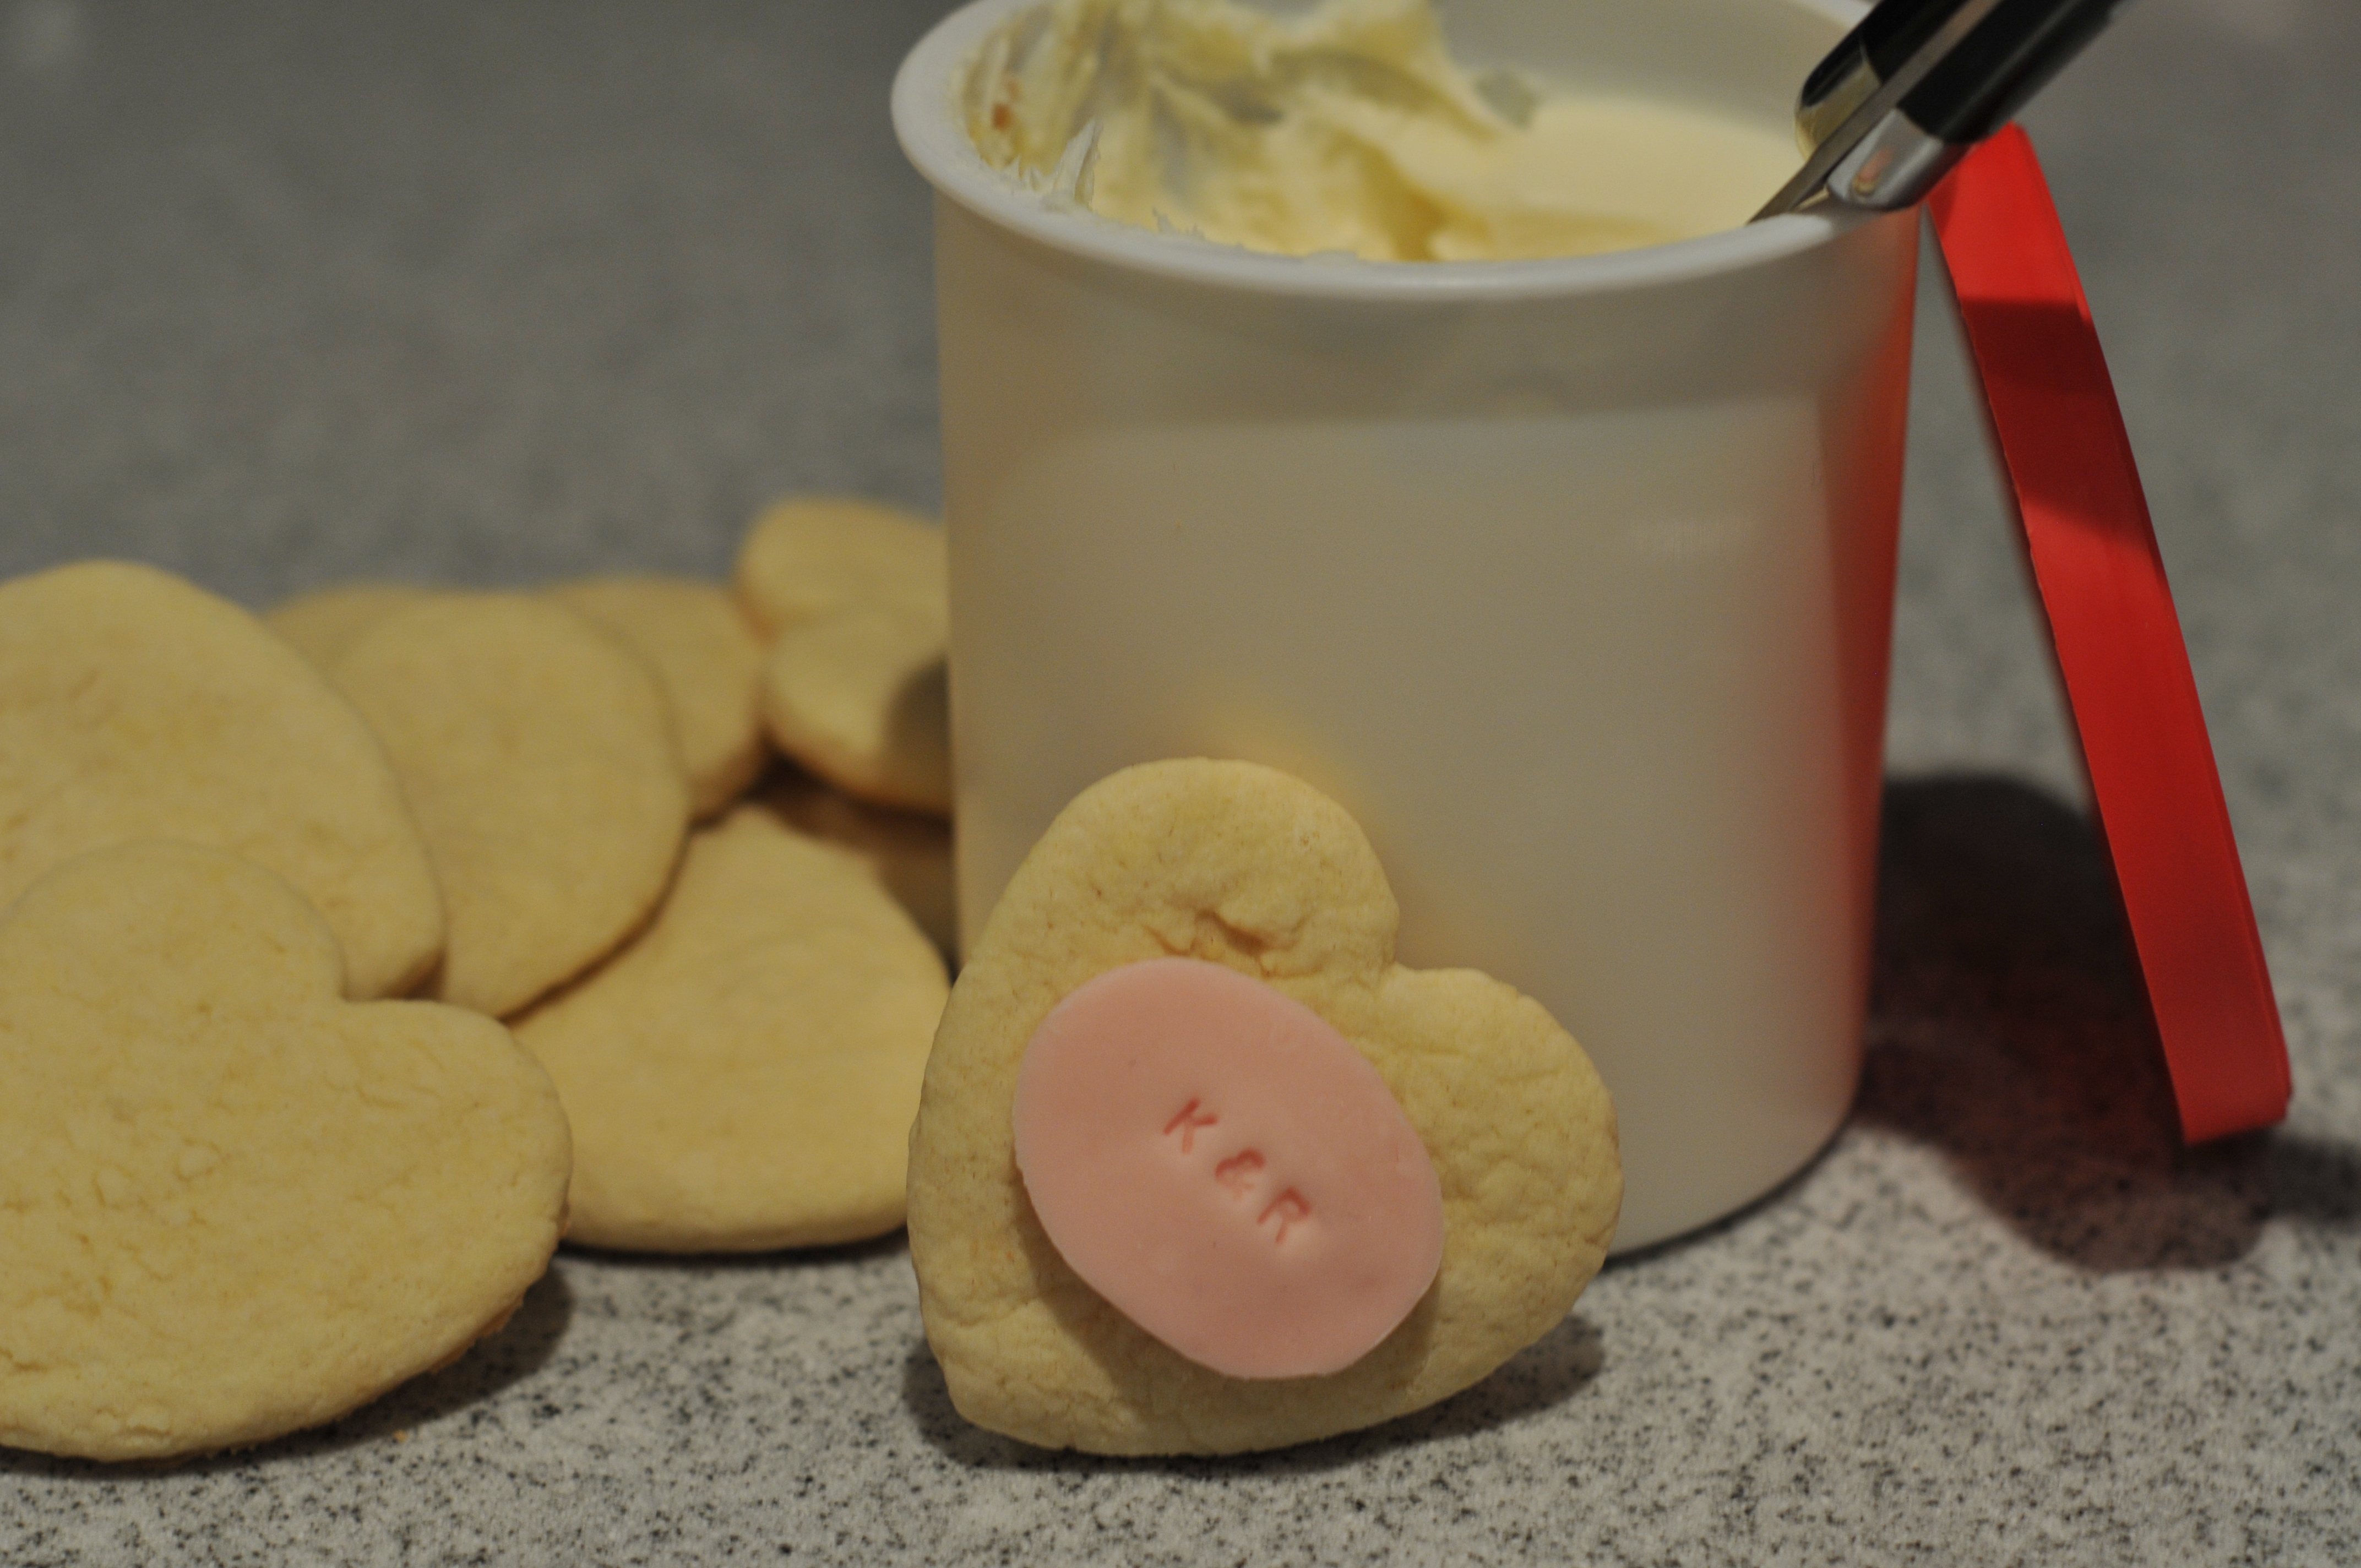
After stamping, wait for the fondant to dry out a little before putting a small amount of icing on the back of the cutout fondant and applying it to the cookie. It will not take long for the fondant to dry a bit; but, if you are in a hurry you just need to be careful you do not mess up the embossed message.

You then put a few cookies in a cellophane bag and tie with a ribbon. They are easy favors to include at each table setting or as your guests leave.

I made these cookies for my niece’s seventh “tea party” birthday celebration. I mixed it up by stamping some of the fondant cut outs with her name and some with her age. You can use different fondant colors or different cookie shapes. The sky is the limit with the DIY.
